
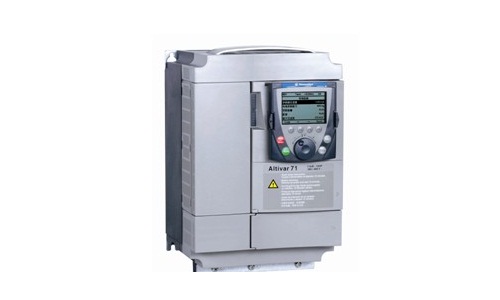
Procedimento de comissionamento do inversor Schneider
Tempo de liberação:2023-02-23 15:29:24
1. Type recognition: Whether the type of frequency converter is common with the type of frequency converter purchased.
2. Transportation admission: After opening the package, check whether the frequency converter is damaged during transportation.
3. Voltage recognition: the field power supply voltage should be within the voltage range of the frequency converter. Otherwise, all the following steps stop.
4, step mechanical installation
5. Insulation measurement of motor and frequency converter: Then connect the frequency converter: connect the motor line to T1, T2 and T3 according to the drawing to ensure the connection and voltage are common; Connect the main power supply to R, S, T after ensuring that the power supply is closed: connect the control source: connect the speed of the given source. A connecting network with a network.
6. Power-on debugging and speech correction: speech selection will be displayed after power-on. (Only power on ** need to do this correction)
7. Restore factory Settings
8. Access level correction
9, set motor parameters: motor power, voltage, current, frequency, speed, and so on, and self-setting
10. Set acceleration and deceleration time: set a reasonable acceleration and deceleration time
11. Set maintenance parameters: thermal maintenance current value of the motor, current limiting value, etc.
12. Defina a fonte de controle e a fonte de frequência: defina o canal para iniciar o conversor de frequência na instrução 1.6 e o canal com a frequência dada. Defina * * alta frequência, * * baixa frequência, etc.
13, a distribuição da função de aplicação função de aplicação: como o controle lógico de frenagem.
14. Confirme a direção do motor: dada a frequência mínima, aponte o inversor para reconhecer a direção do motor; Se contrário, o parâmetro PHr em 1.4 pode ser corrigido.
15. Registre o valor atual de vários segmentos de frequência
-
 202305-12
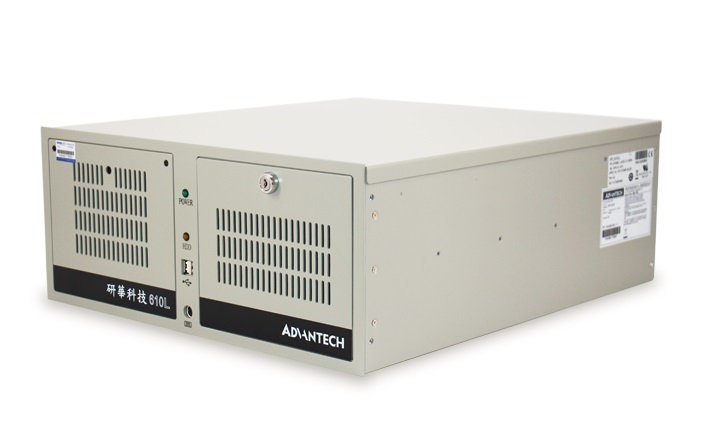
The hard disk light of Advantech industrial computer 610L is not on
Hard disk fault: The hard disk may be faulty, causing the hard disk indicator to be off. You can try to restart the computer. If it still does not light up, check whether the hard disk is recognized b···
-
 202301-31
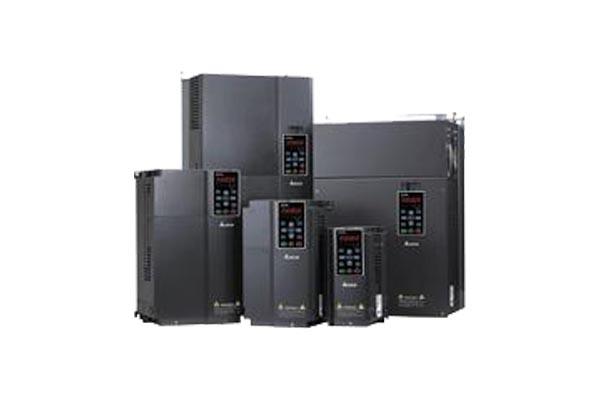
Solução de falha de viagem de sobrecarga Delta
1. The main cause of VFD overload(1) Mechanical overload. The main characteristic of overload is the motor heating, which can be found by reading the running current on the display screen.(2) The unba···
-
 202301-13
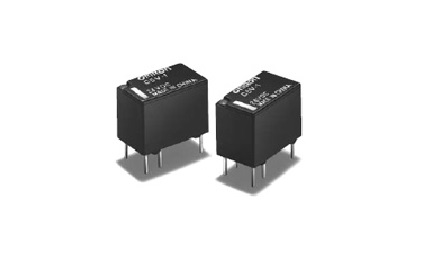
Princípio de funcionamento e aplicação do relé da Omron
Princípio de funcionamentoQuando uma certa tensão é adicionada a ambas as extremidades da bobina, uma certa corrente fluirá através da bobina, resultando em efeito eletromagnético. Sob a ação ···
-
 202302-14
Método de manutenção do conversor de frequência ABB
O método de reparo do conversor de frequência ABB precisa ser devidamente apreendido. O conversor de frequência é composto por vários componentes, entre os quais o desempenho de alguns componente···
-
 202309-01
A câmera Hikvision indica que o acesso à rede é anormal
1. Verifique se a rede está estável e ocorre perda de pacotes.2. Verifique se os endereços IP estão em conflito.3. Verifique se a fonte de alimentação do dispositivo está normal.4. Verifique se···


 +8618621383628
 +8613811814778
 info@zhongpingtech.com
 Edifício 26, Comunidade Liyuan, Distrito de Chaoyang, Pequim, China